
Ancestral Candlelight

How to make beeswax taper candles
The use of beeswax goes way back, to the ancient Egyptians, who used beeswax—the excess wax created by bees in their hives—for a myriad of purposes, including in their health care products and to preserve writings. While over in Europe the inhabitants of the Roman Empire used tallow for candle making (the fat preserved from animals), the higher classes, including the church in its services and rituals, used beeswax. It didn't give off a burnt animal fat smell, which made it desirable, you can imagine, but it was also harder to find and so more costly.
Nowadays, thankfully, it's pretty easy to get your hands on some beeswax. Candles are a wonderful way to add ambience and beauty to your home. While I know scented candles are all the rage nowadays, they also contain chemicals that aren't so great for our homes and the people who live within them. A great alternative is beeswax candles. These natural candles are not only free of such toxic additives, but studies show that burning them actually helps to purify the air in our homes. Magical.
In addition, beeswax candles give off a soft, royal type of glow that no store bought candle can mimic. And they're old world. The only thing older world is tallow candles, but, please, don't make your candles out of tallow. You can of course purchase beeswax candles, but you can also make them at home and cull satisfaction from creating something with your own two hands. Here's how I make mine. It's a little bit of elbow work but nothing crazy, and it's a fun project that will make you feel all Martha Stewart-y in craft satisfaction.
What you'll need:
Beeswax - I use this one. However, I'm planning to try the wax pellets when my current supply runs out, because chopping up the block is a significant amount of work.
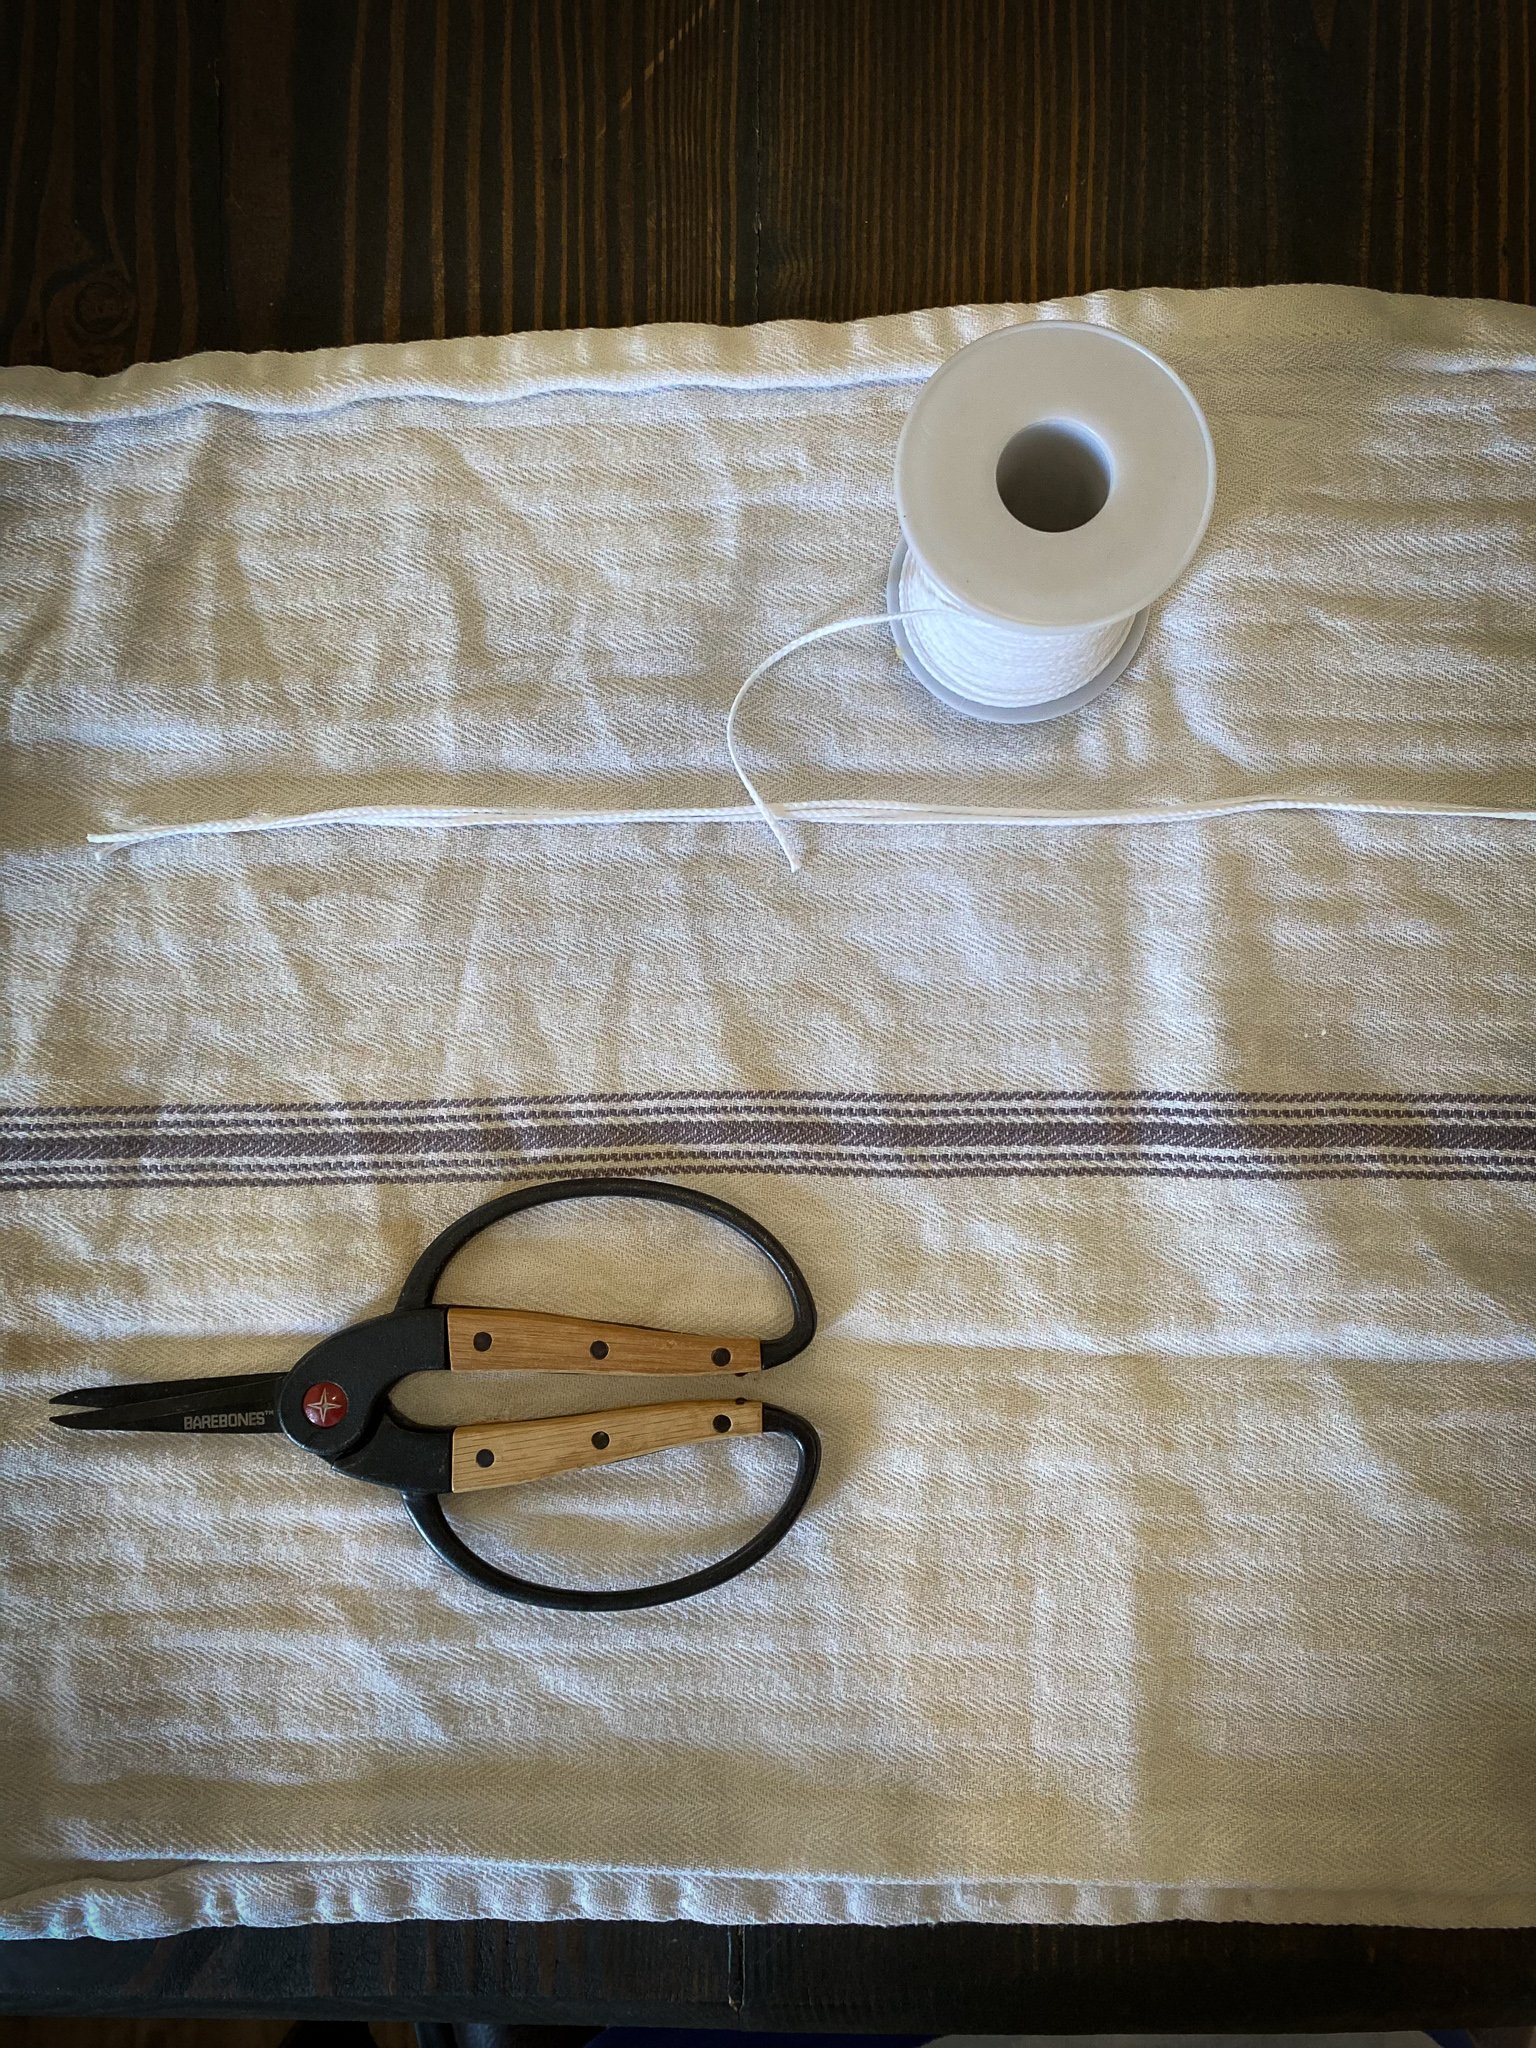
Wicks - I use these for tapers.
A few small nuts or bolts to tie at the end of the string of wick
Double boiler, or stock pot with a mason jar and lid
A container deep enough to hold melted wax (I use an old coffee tumbler) like this one.
A second container for cold water (I use an empty glass candle jar like this one. But anything similar shaped will work.
Fill the stock pot with water and bring to a boil.
If you buy a block of wax, you'll have to chop it into pieces. A quick tip is to place it in the freezer for a couple hours first, which makes it easier to break with a knife.
Place the pieces in the mason jar and fit the lid on. If you're using pellets, just pour them in, and tighten the lid.
Place the jar in the water. Use tongs here, of course, to lower the jar so you don't burn yourself!
Cut lengths of wick long enough for you to hold one end, and dip the rest into the wax.
Tie the nuts or bolts to the end, creating a weight. This will help to keep the wick straight as you dip.
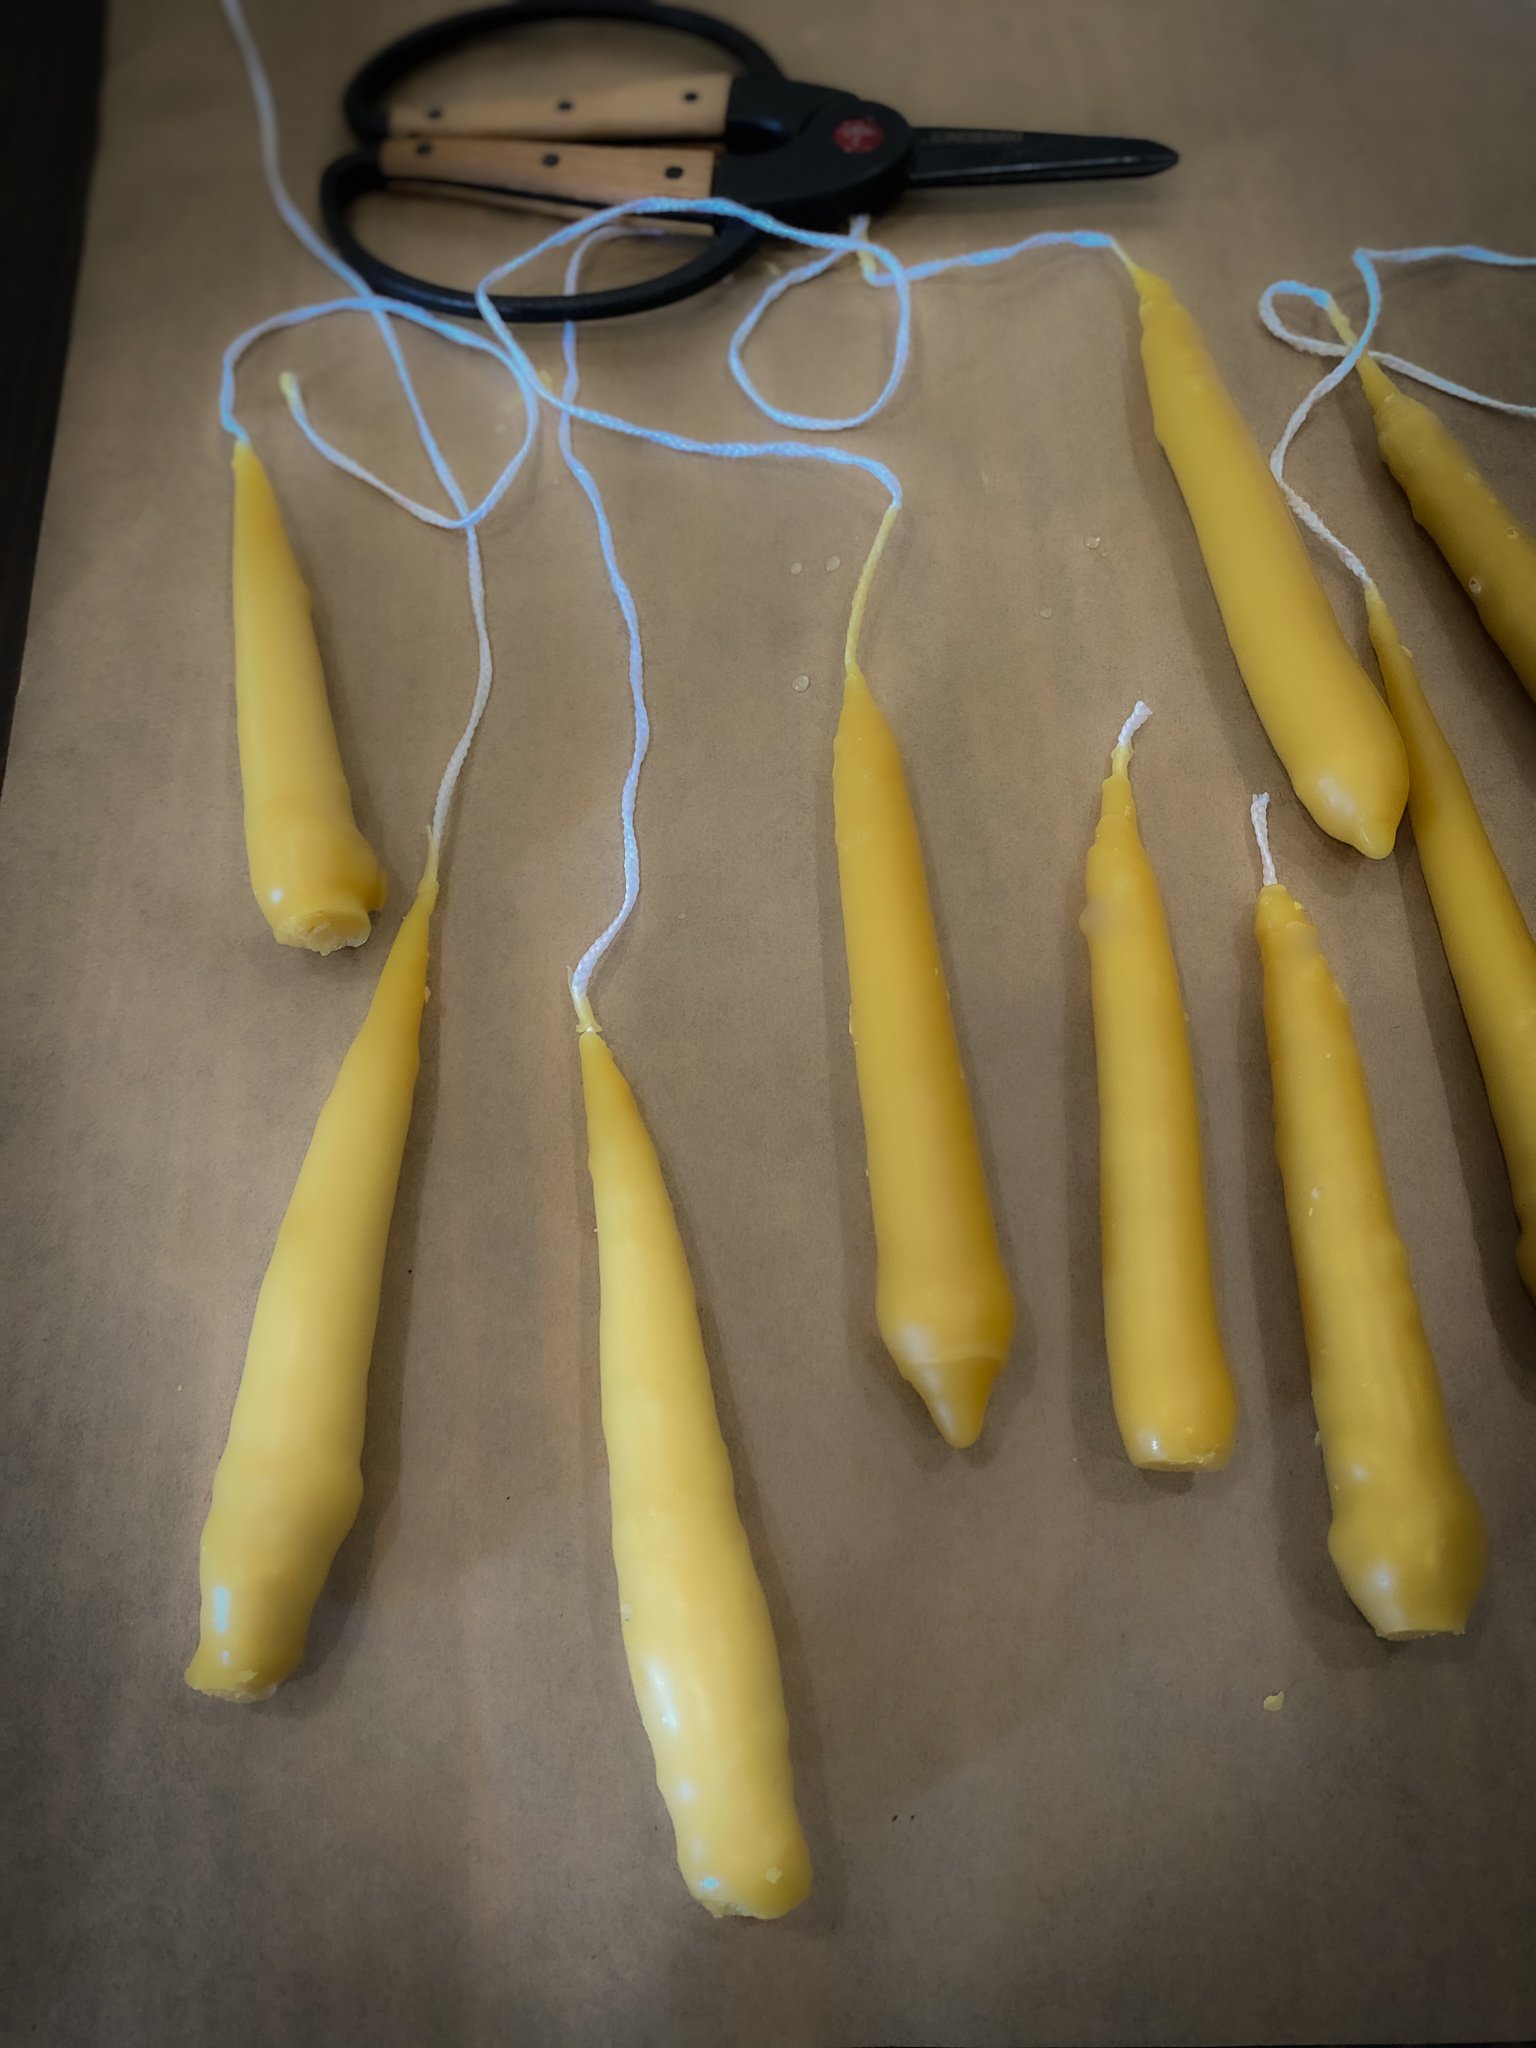
When the wax is melted, carefully remove the jar with tongs, and fill the container reserved for the wax with the hot wax. Make sure the wax is heated between 155°F and 175°F, or you will get little bumps on the side of your candle (as I did on some of my candles in the pic above.) They still burn fine, but they don't look as nice!
After you dip in the wax, dip in cold water. Then back into the wax. Then back into the cold water.
You can remove the bolt with a scissor after a couple dips, because the wick should hang straight at this point.
Repeat this process until the wax builds and you have what looks like a taper!
Place the candles on parchment paper to dry. They can usually be used within an hour or two.
Trim the wick and light. That's it!