
Lacto-Fermented Sauerkraut
So easy, so yummy, so good for you---what more do you want!
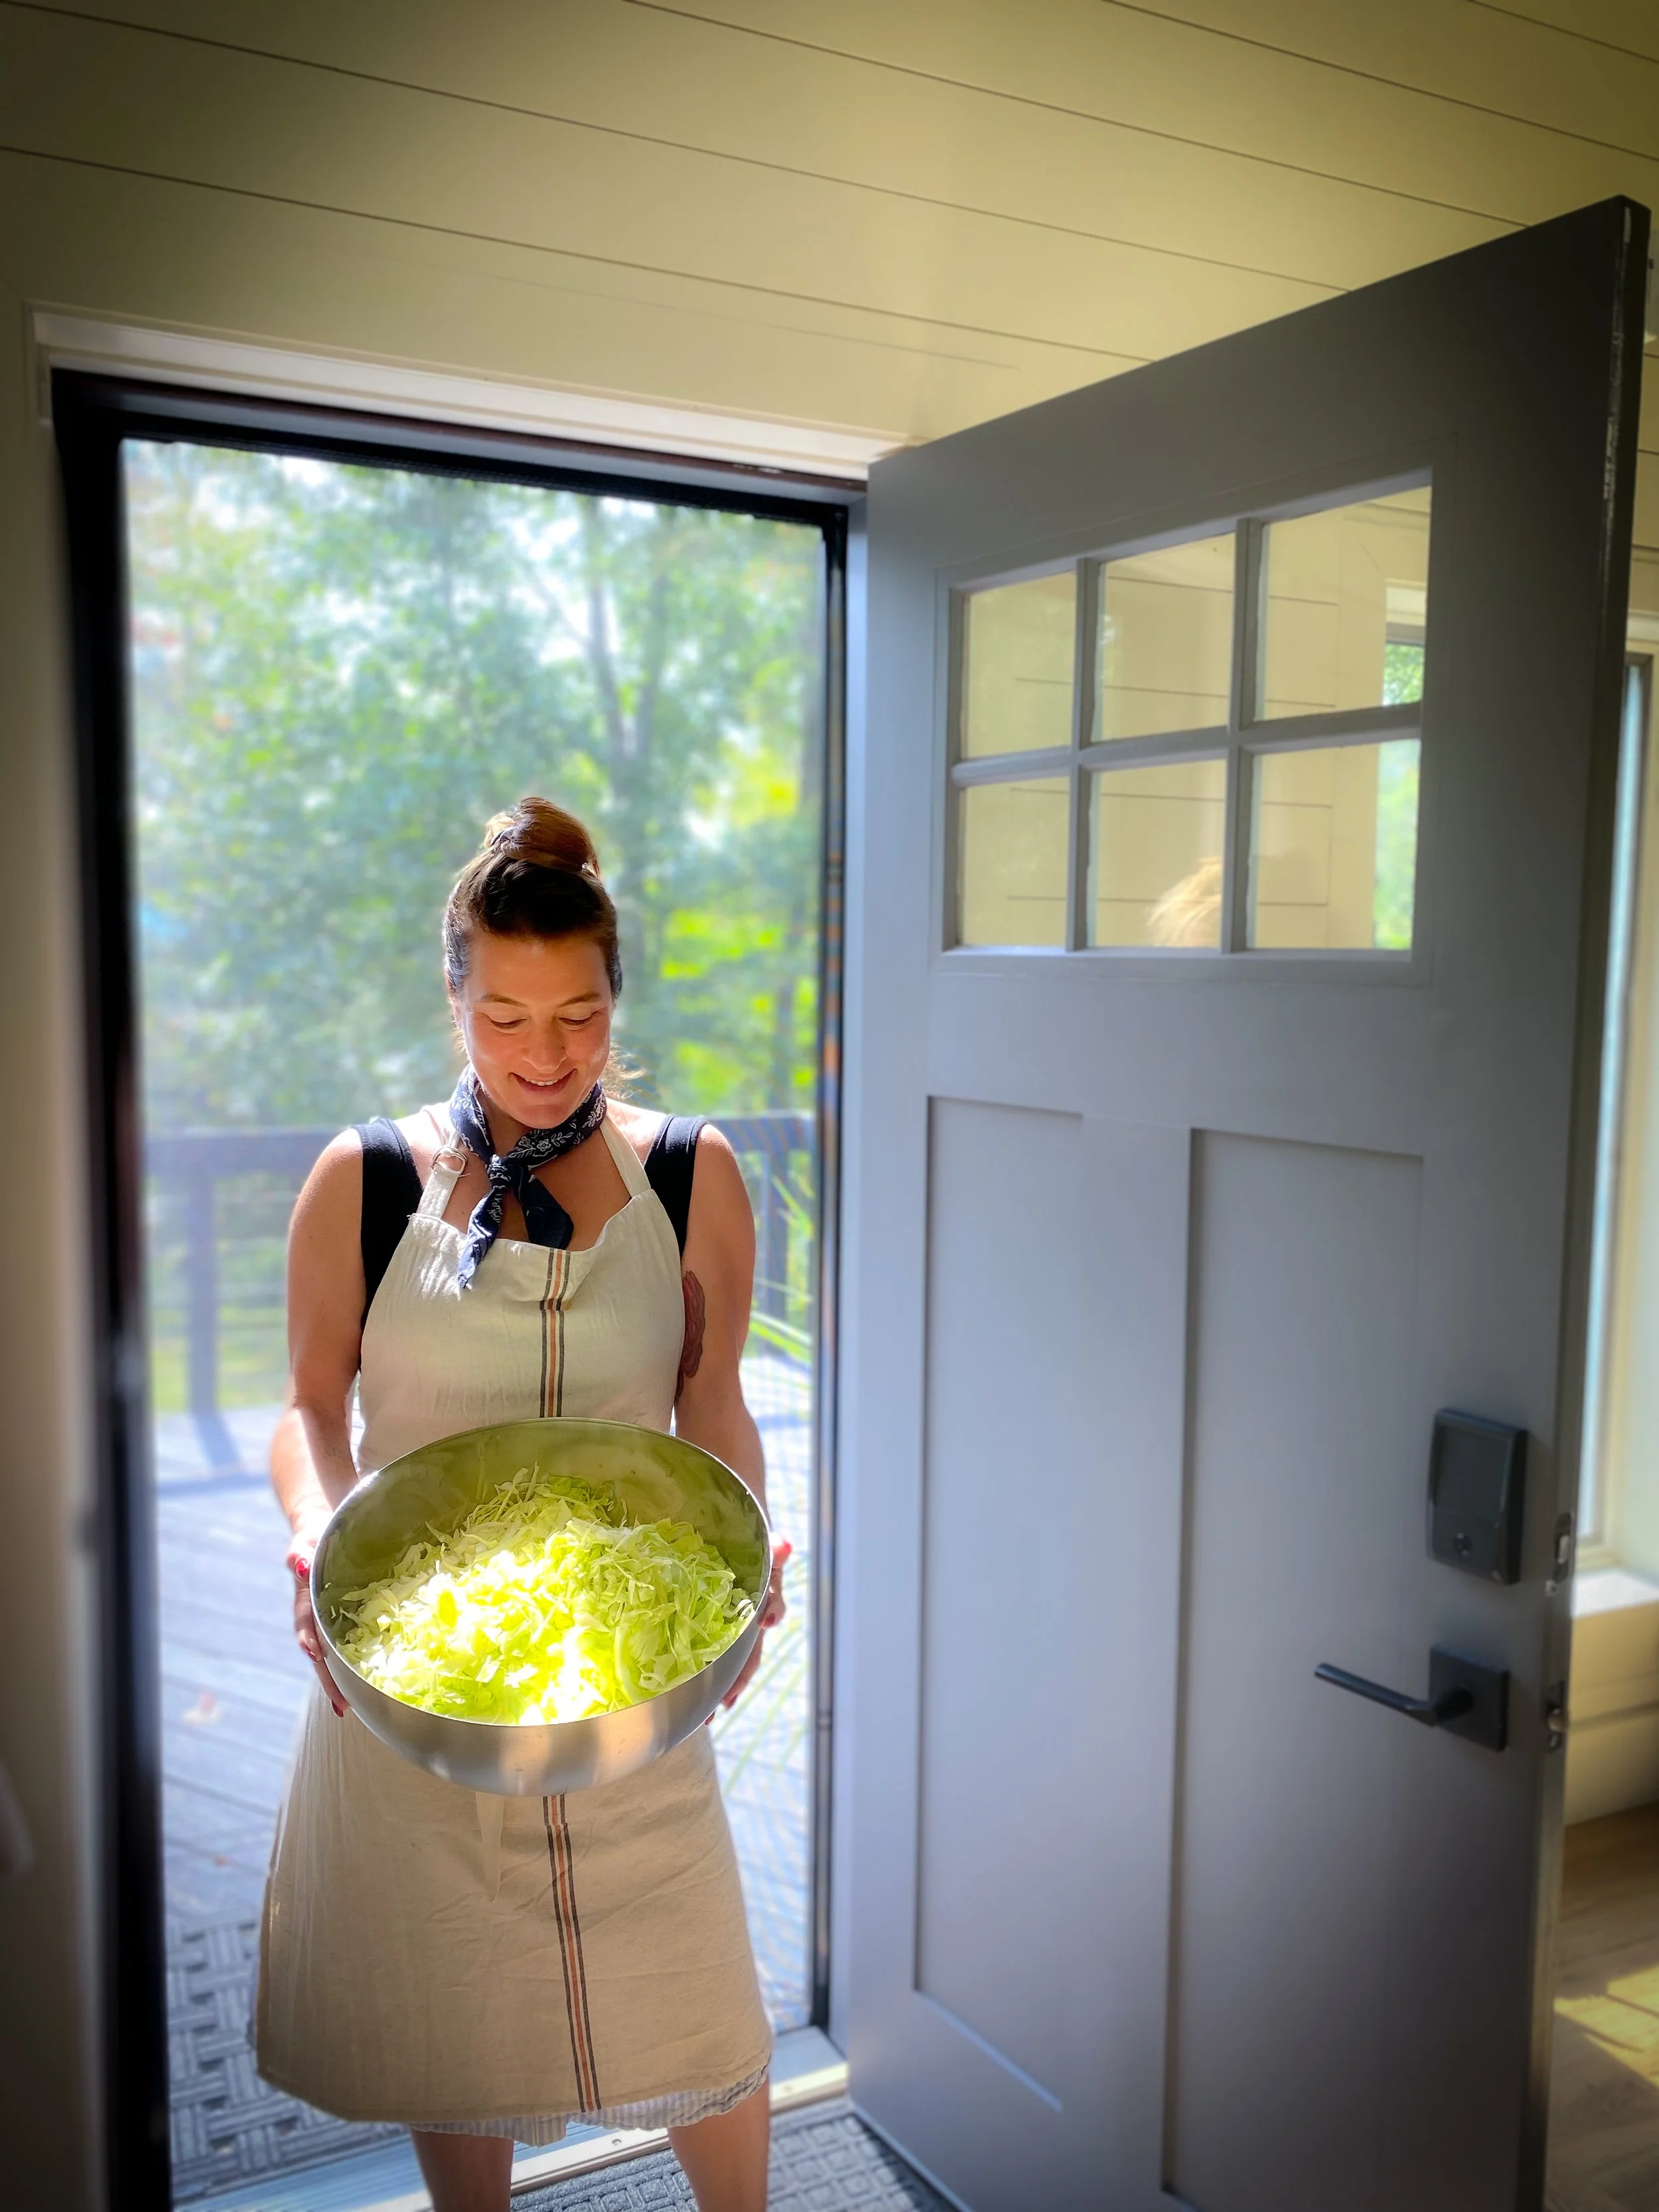
The first time I made fermented sauerkraut, I went to a local Hudson Valley farm and bought some nice red and green cabbage heads to use, but this year, I grew my own. I like to use moments like this to remind myself I’m evolving; it’s good to pause at a point where you are, and look back to another, comparing the distance between. Not only have I fermented many vegetables since that first try, now I’m fermenting ones I grow in my backyard. That reminds me I’m learning, not afraid to try new things, and that what once was new and out of my realm is now, through my commitment, a comfortable part of it.
While I grew up with a garden, as well as preserves of all kinds, the majority of vegetables were preserved under oil by my mother, who still to this day can barely look at a veggie without wanting to sauté or fry it in olive oil. 😂 While I love what she puts up, for me and my family, I veer more toward the health conscious, so I like to add in fermented foods because they are great for overall health. But it’s the same spirit. I get my drive to grow and prepare food with my own hands that others would more easily go to the store and purchase from my parents; I just have my own take on some of it. And that’s how it should be. When it comes to tradition, we have to keep the essence while adapting it to our era. While maintaining tradition as you were shown it is vital, tradition also needs to breathe. It needs to evolve, or it risks dying altogether.
Gardening and preserving is tradition in my family, as well as in the greater heritage in my blood, and I’m proud to be a continuation of that, and proud to add my own little flair into the long line of men and women who came before me, feet in the soil, hands on the fruits of plants, putting in the work to make something beautiful out of both.
Lacto-fermented vegetables were a revelation to me. They are such an easy way to preserve vegetables and fruits at the peak of their freshness, while also being nutritious. Every serving of a lacto fermented veggie adds a heapful of probiotics to your dinner plate. I love the ease of being able to reach into the refrigerator, grab a jar, and have a healthy veggie at the ready for my family. All you need to make them is a vegetable, good sea salt, and water. Simple. For this recipe, the ingredients are even simpler; just some cabbage and salt!
I've always been a fan of sauerkraut, but mostly when heaped onto a hot dog; with this recipe, I now eat it with almost any meal, from steak to chicken and sandwiches. It's crunchy, fresh tasting, and did I mention nutritious?
What You'll Need:
Cabbage
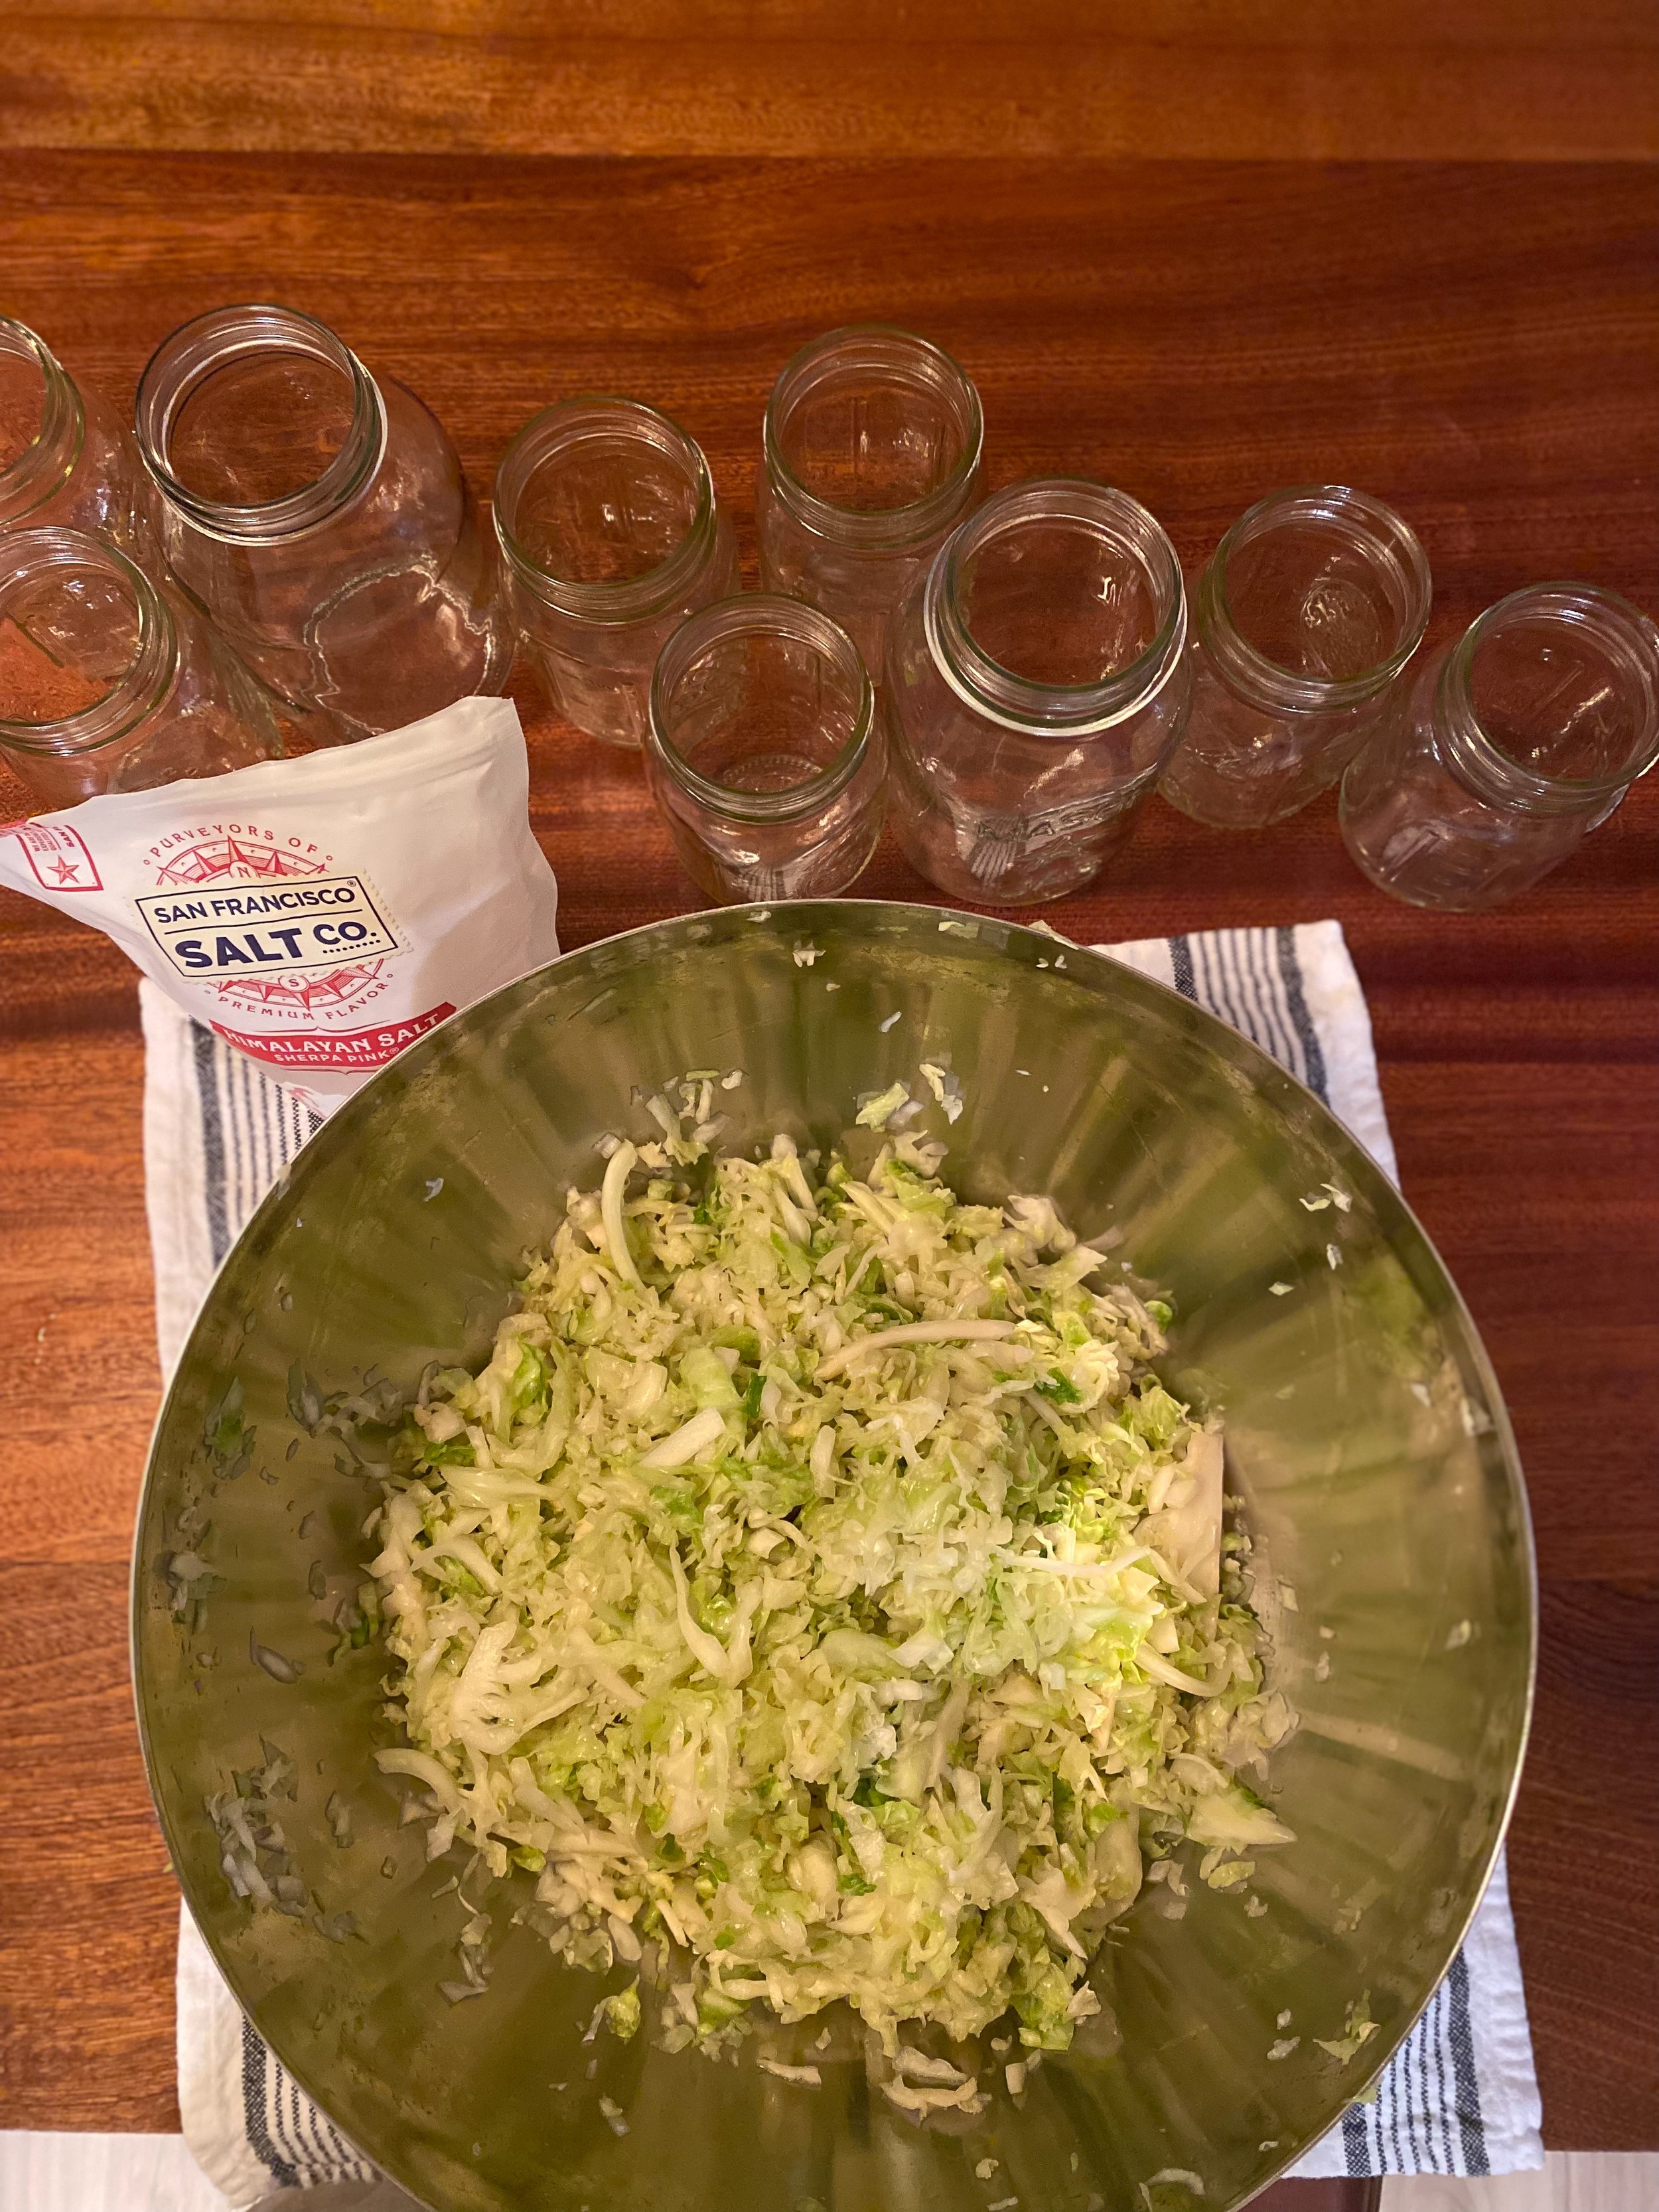
Sea Salt (I use this kind.)
Mason jars and lids. (Make sure these are clean and sterilized. You can run them through a hot setting in dishwasher.)
Fermenting weights (I use these.) Alternatively, you can use a rock placed in a ziplock bag.
For every 5 pounds of cabbage, I use three tablespoons of sea salt.
Slice the cabbage into ribbons. You can also use a food processor to do this if you have a large amount of cabbage.
Place the cabbage into a large bowl and add in the salt.
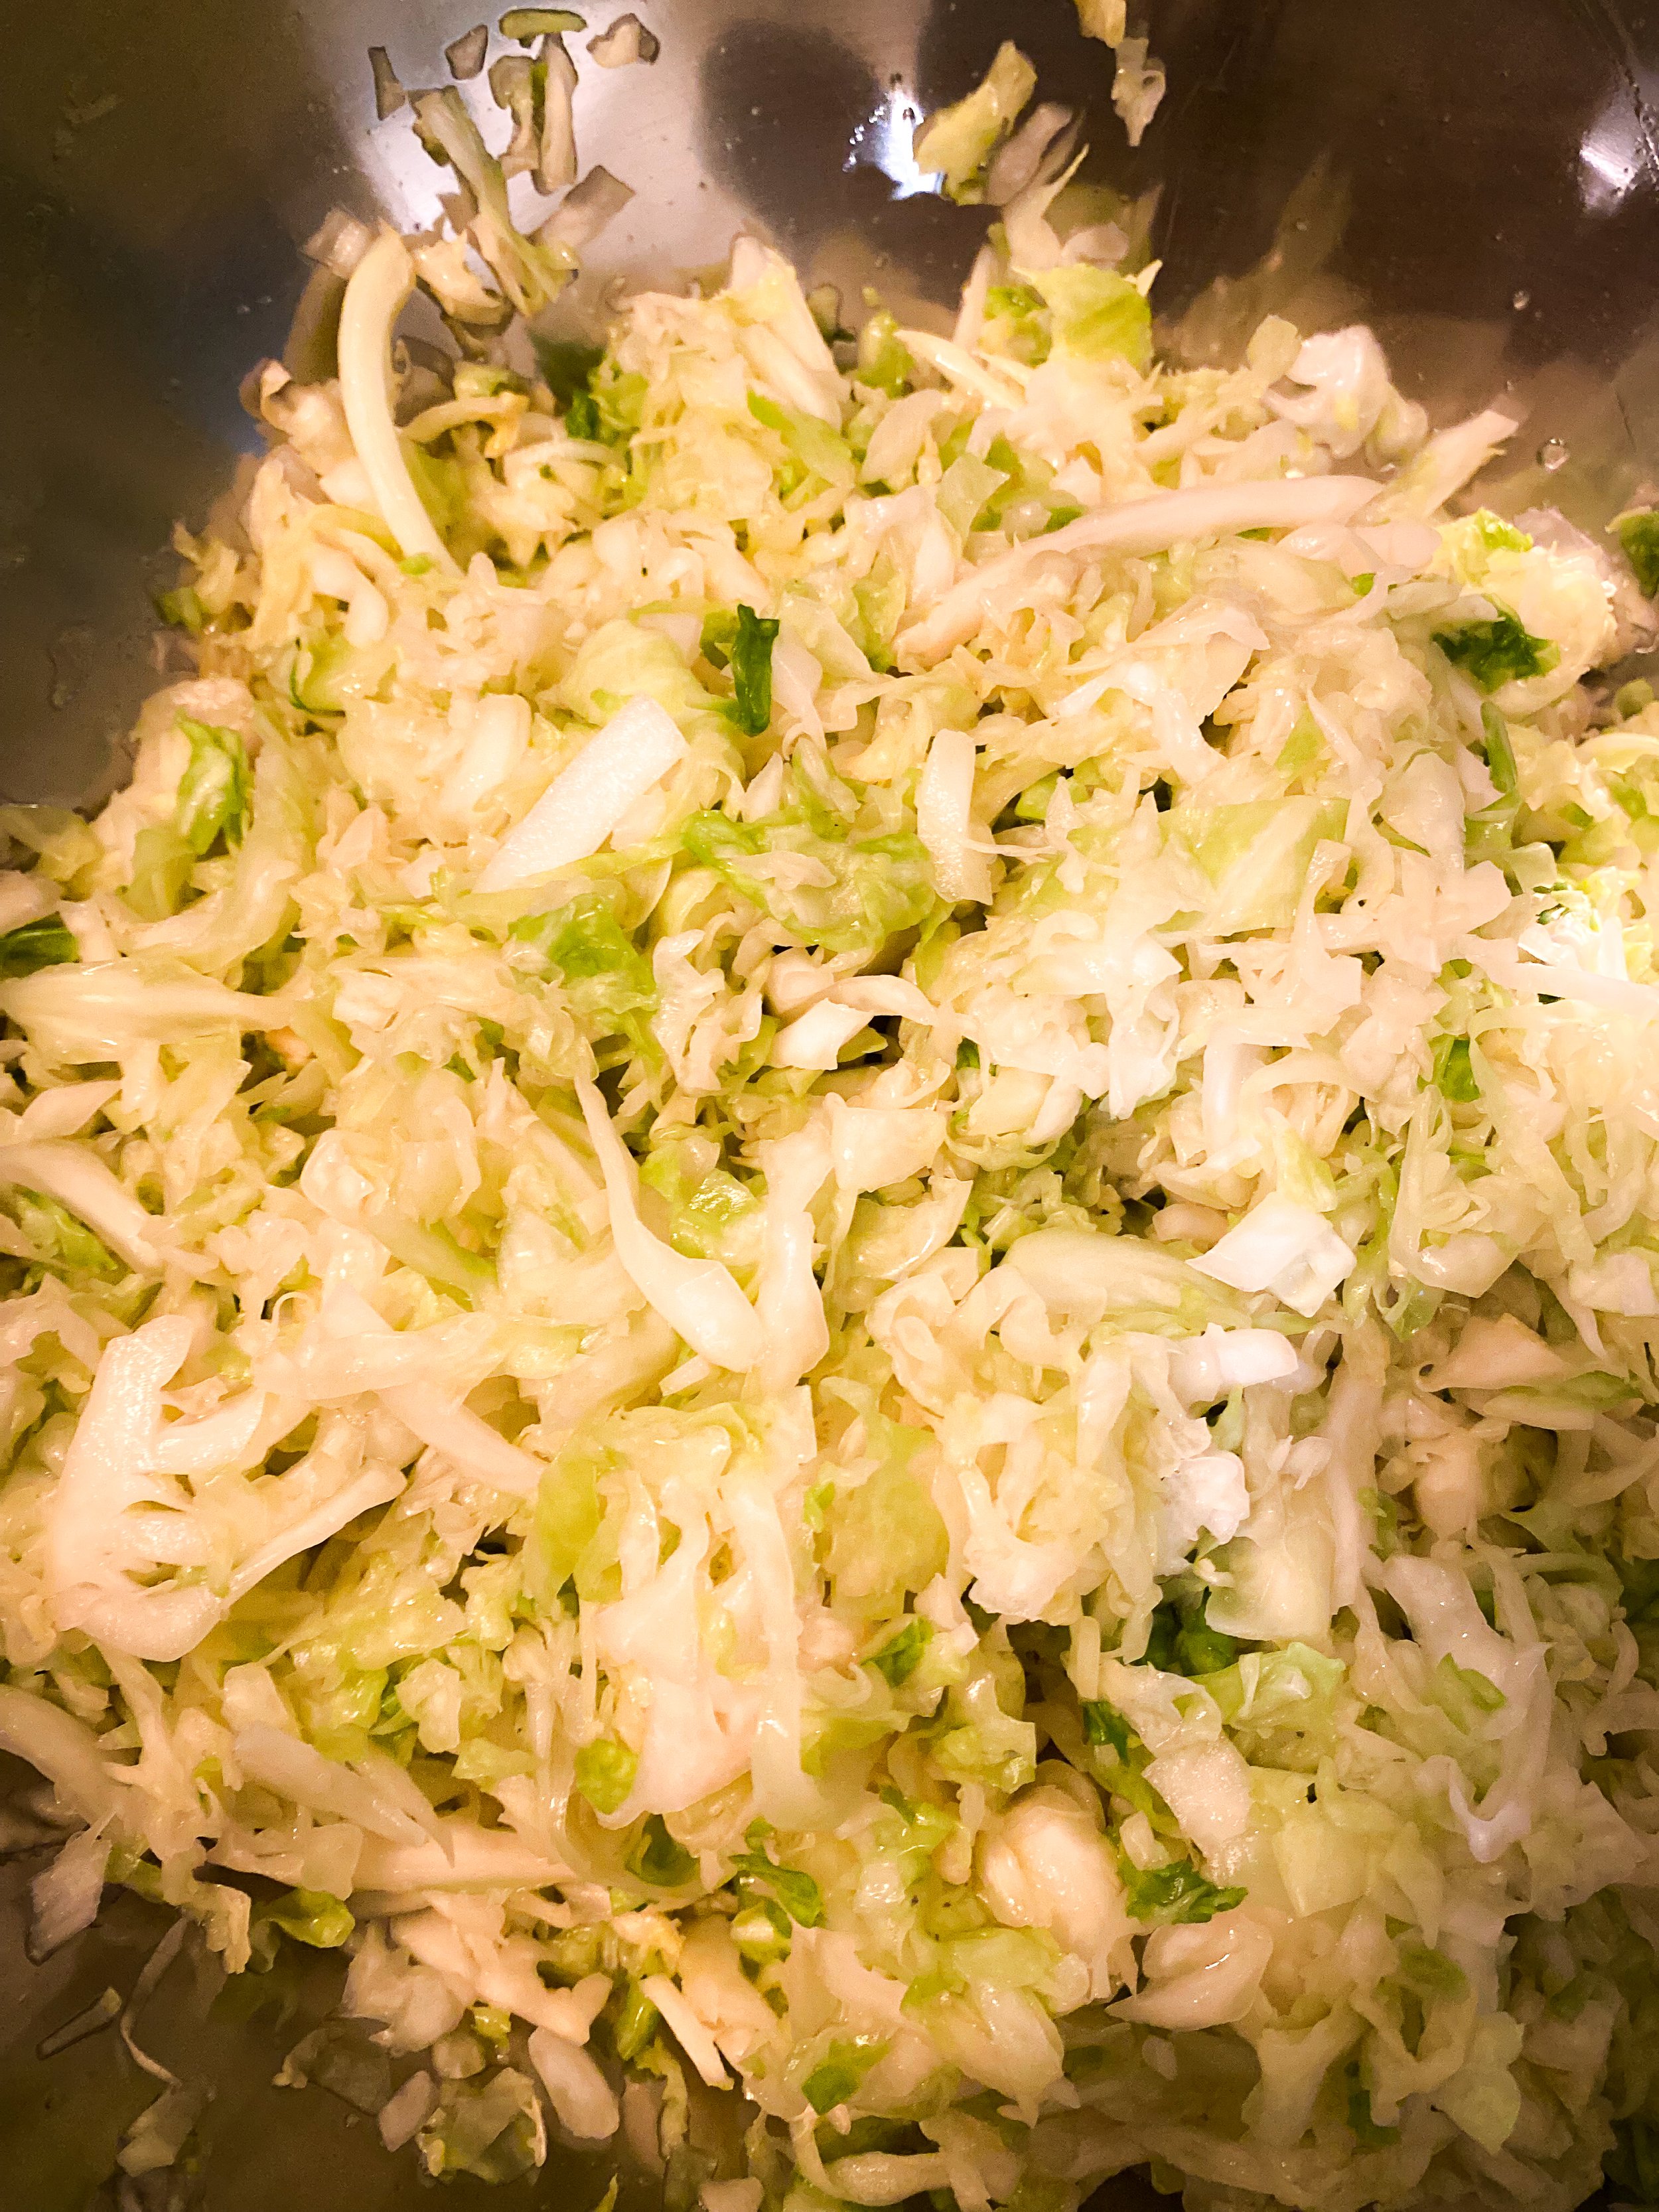
Massage the salt into the cabbage. Your goal here is to get the cabbage to start releasing water, creating a brine. Depending on how much cabbage you have, this should take several minutes.
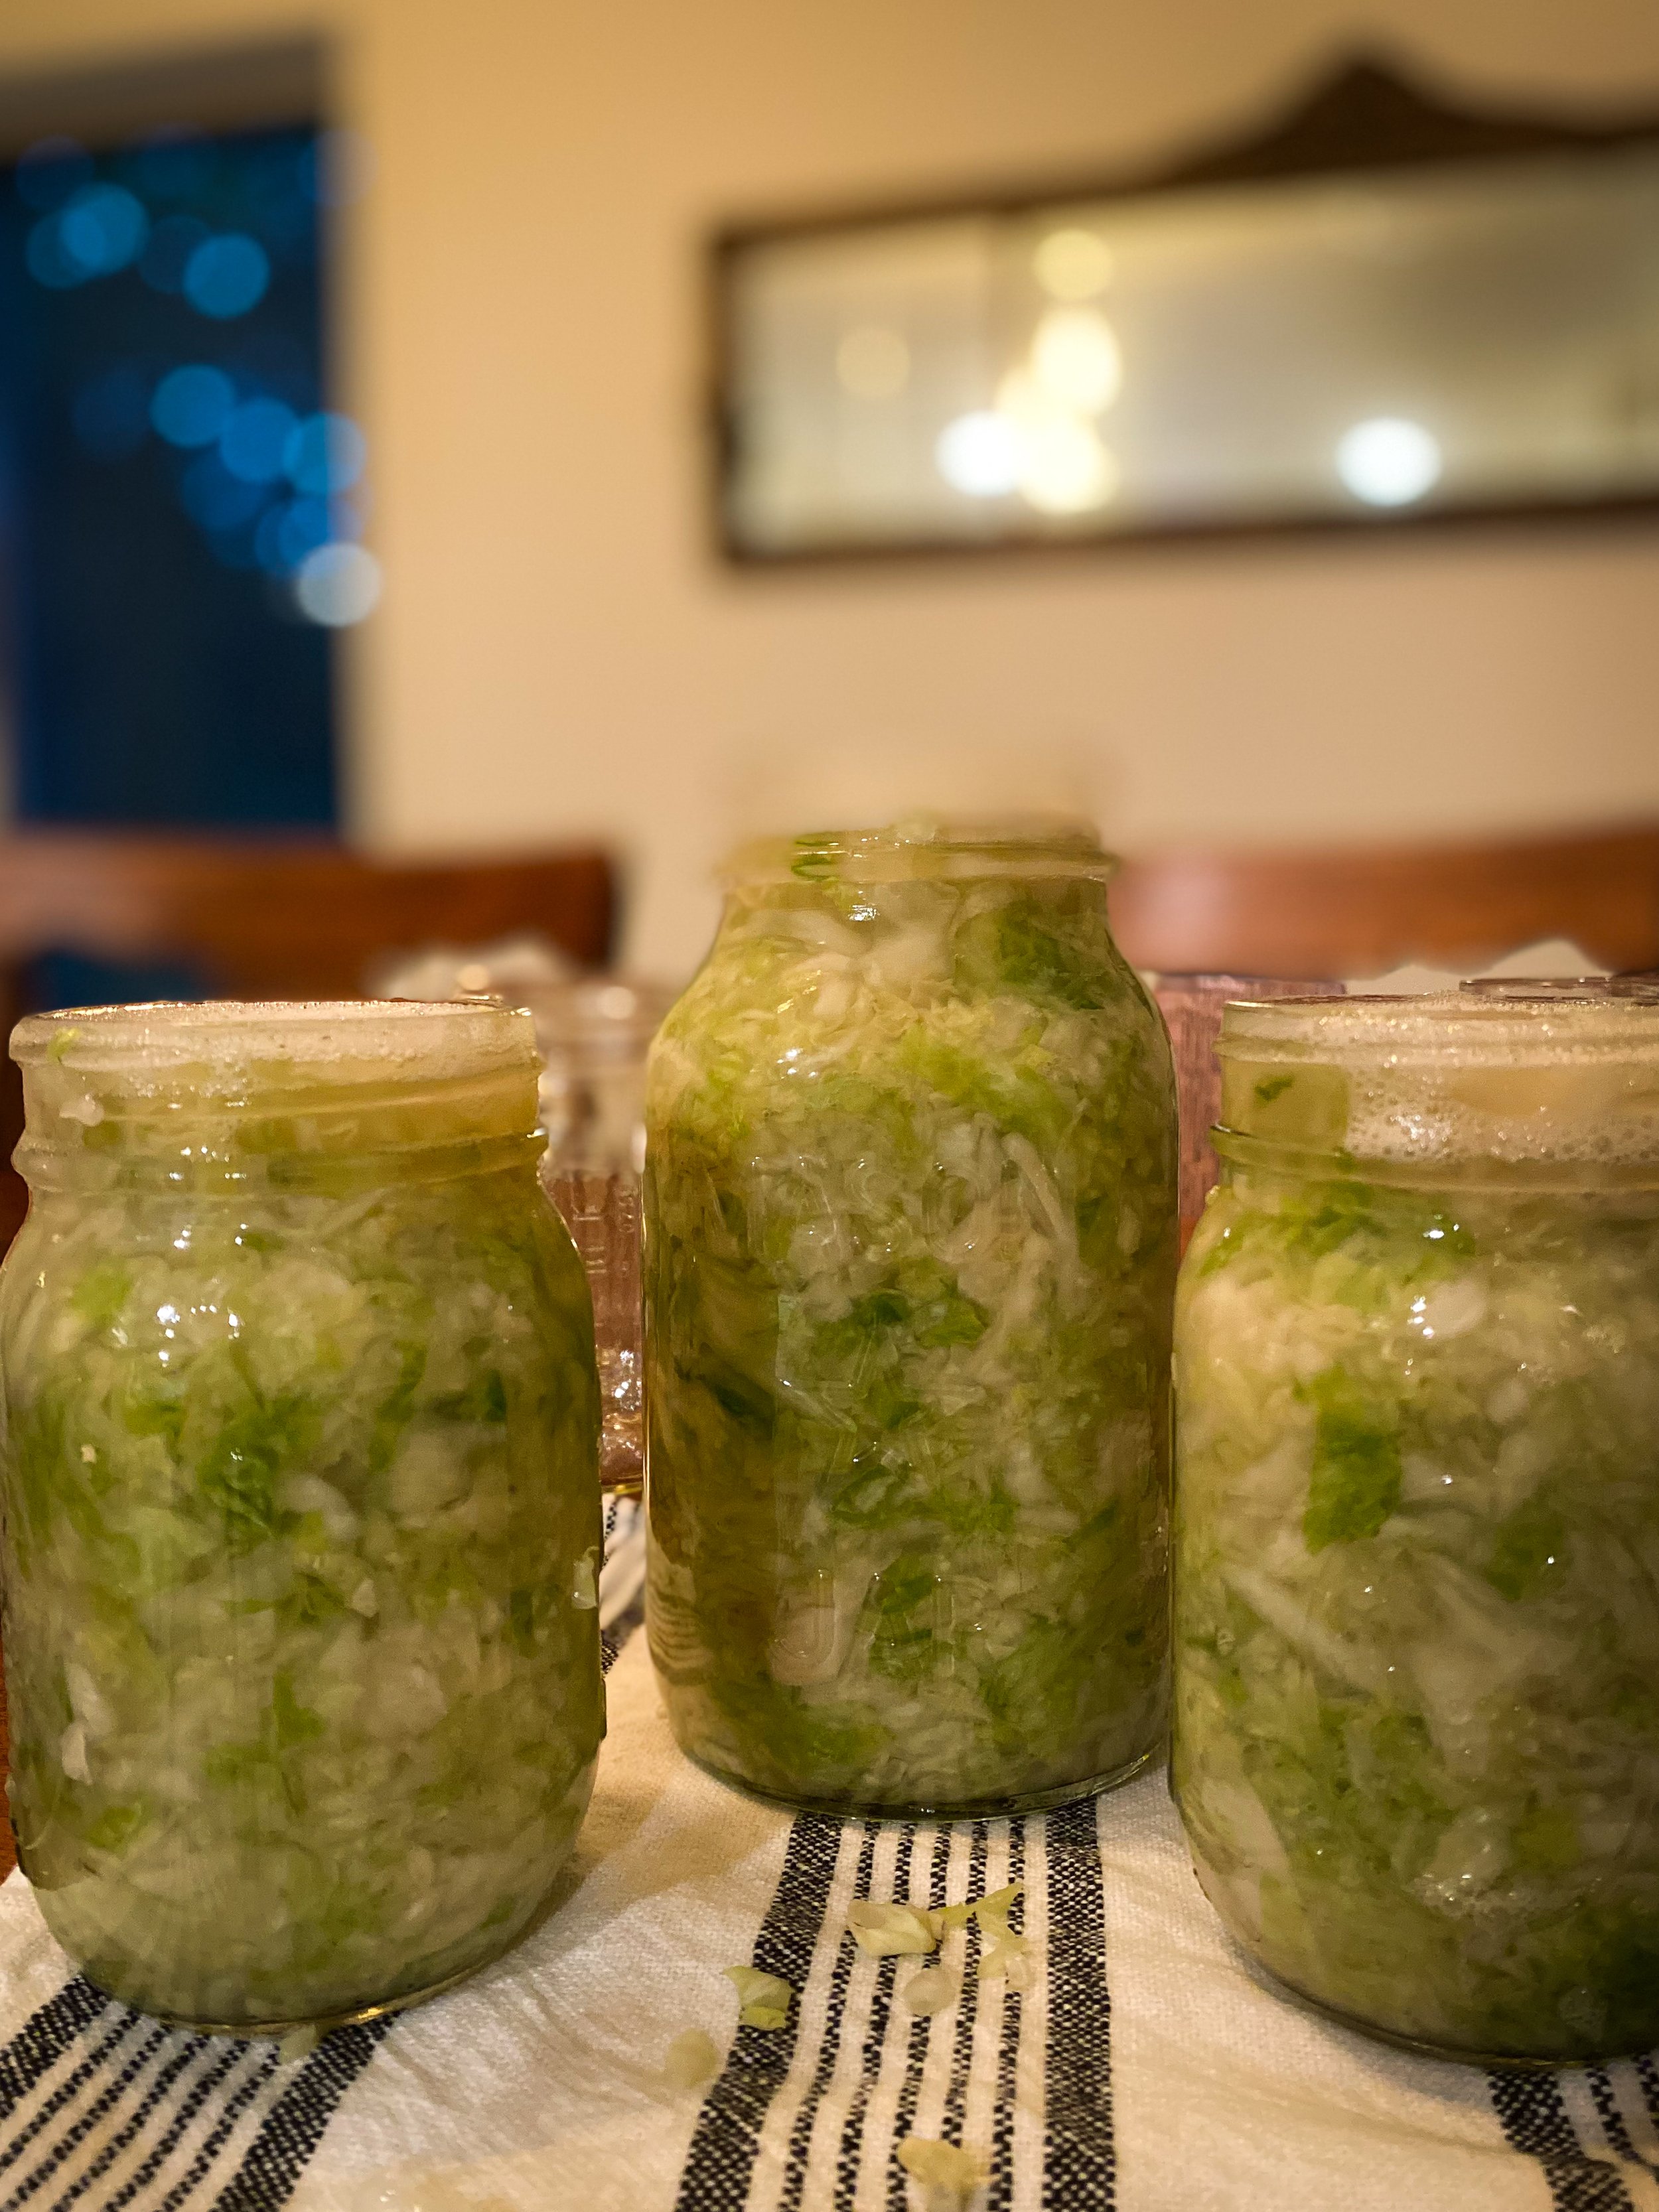
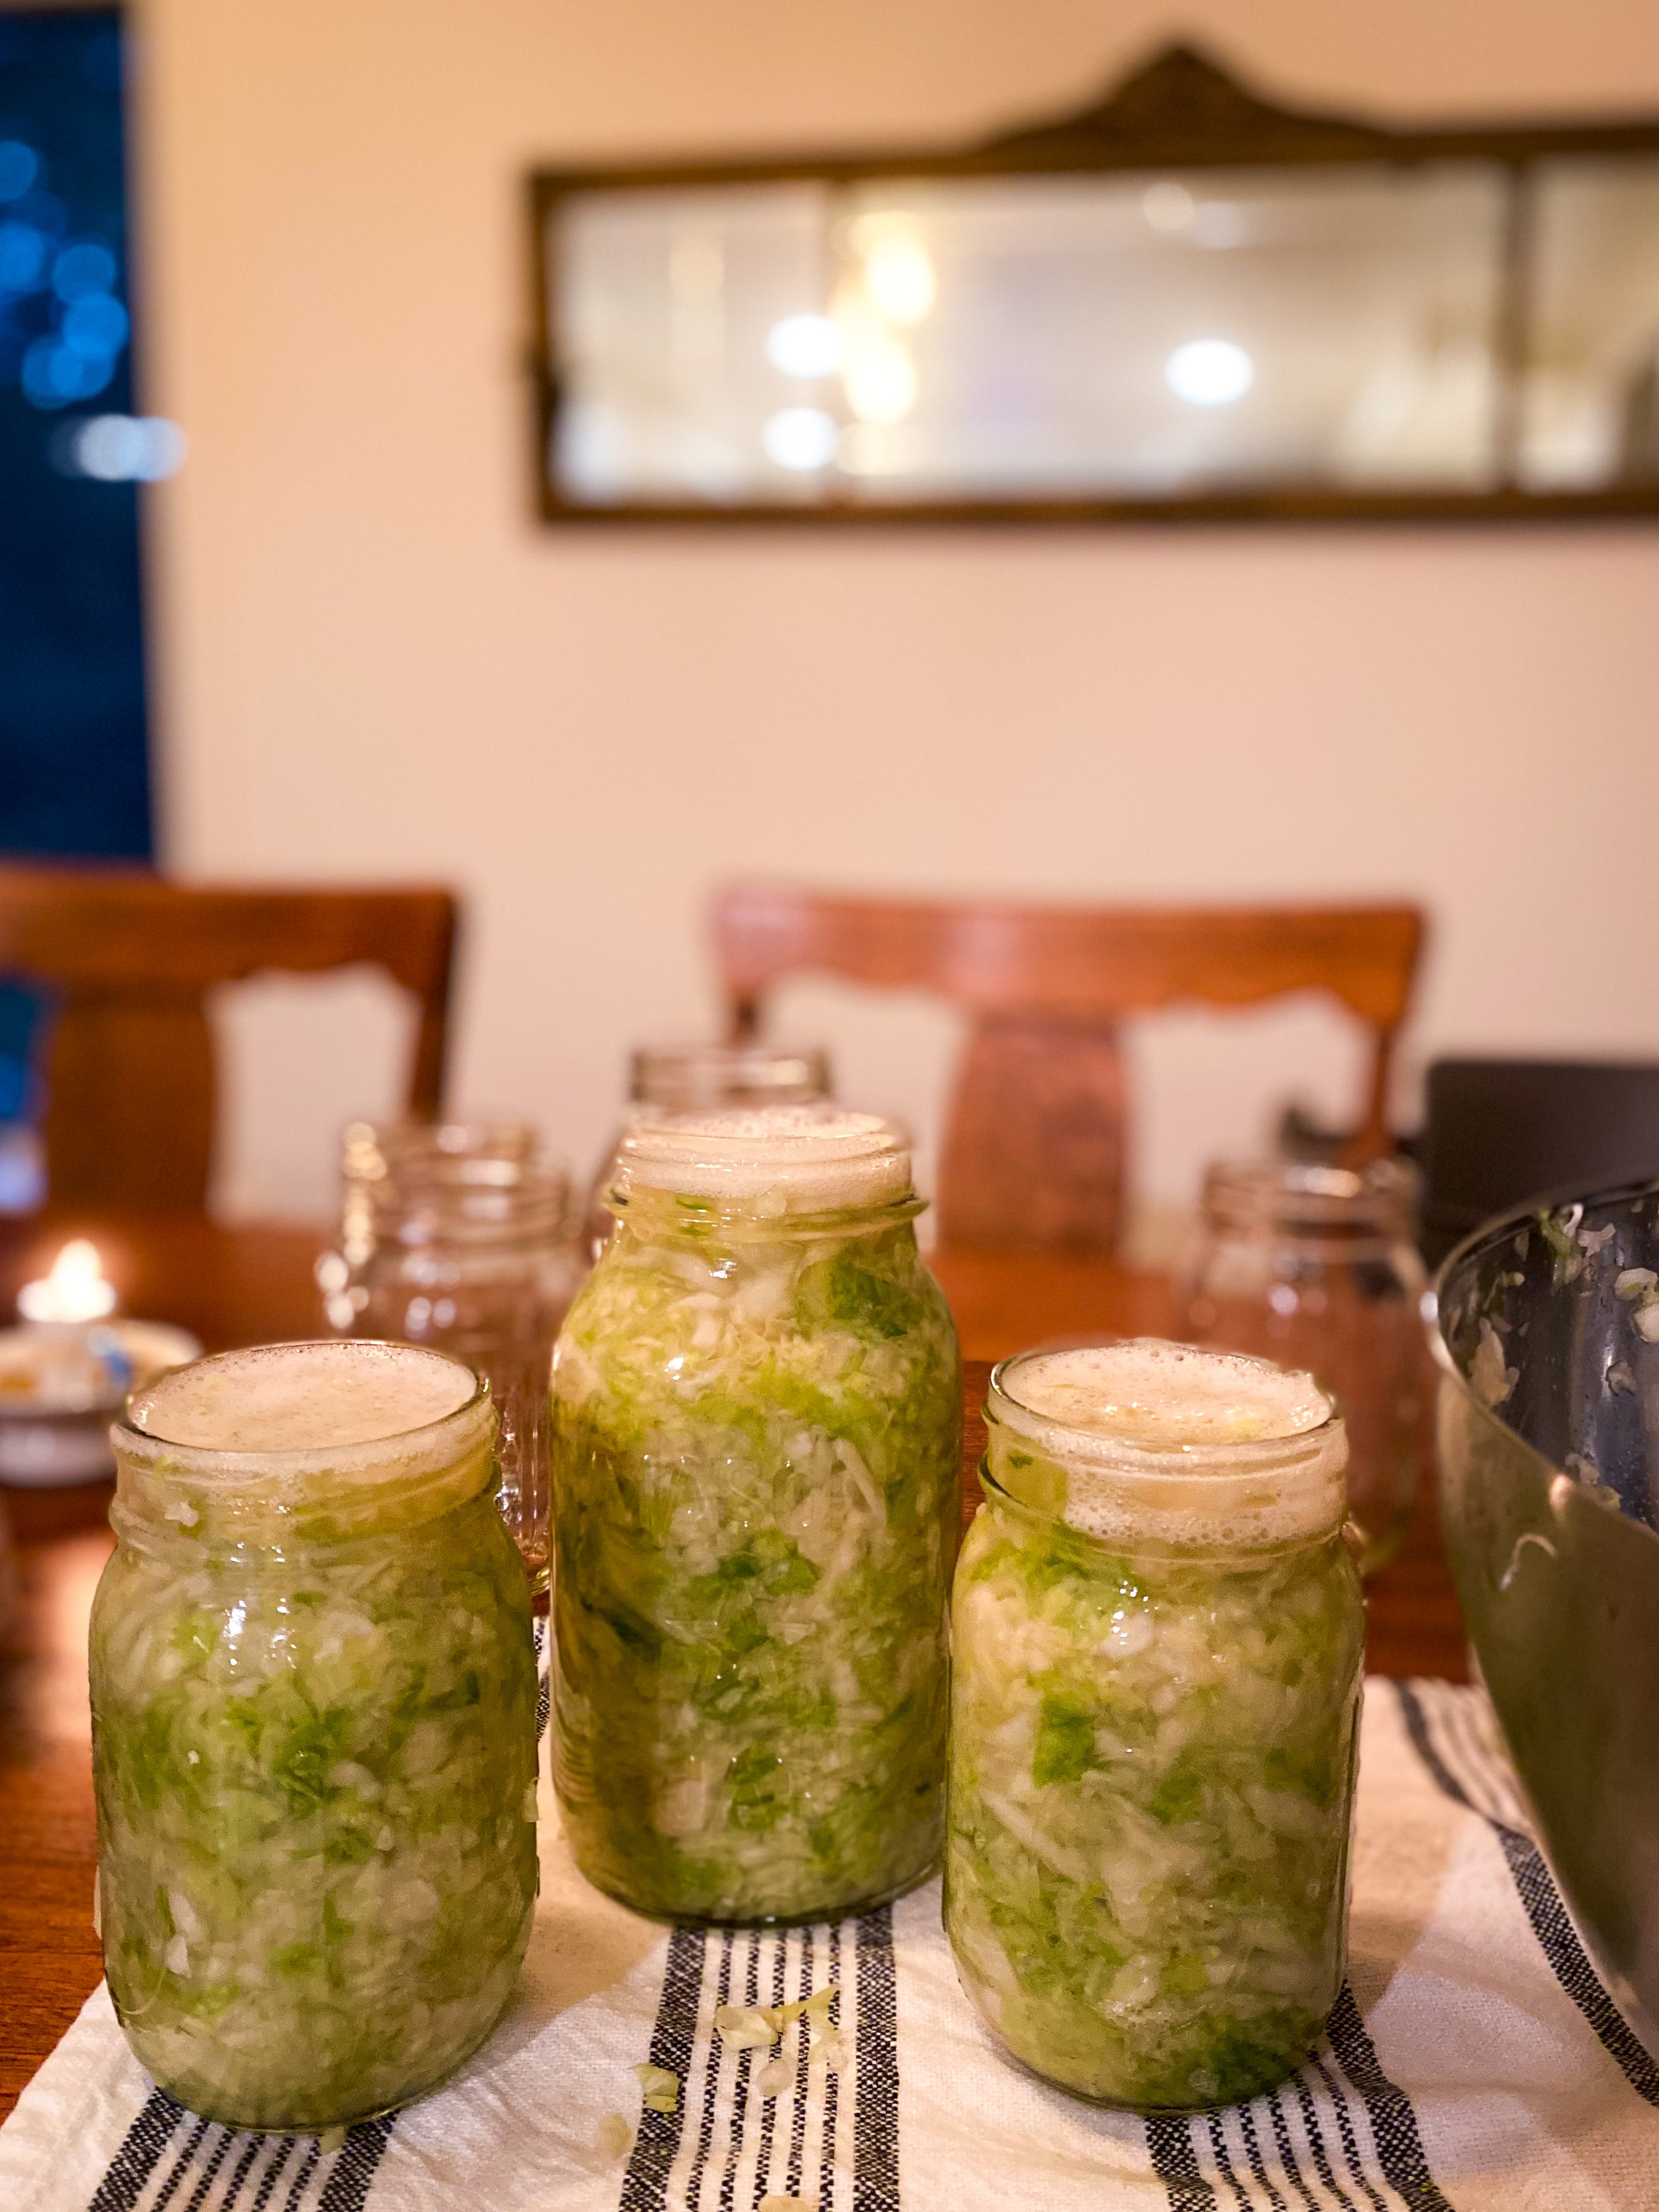
After you have a nice brine and all the salt is massaged in, you can start placing the cabbage into jars.
Add some cabbage into the jar. Then, using a wooden spoon (or the handle of a wooden spoon), press down the cabbage into the jar, adding more and repeating with the spoon until the jar is filled to the top.
Add the fermenting weight, being sure that all of the cabbage is submerged beneath the brine. If any is above the brine, it risks spoiling.
Place the jars on a dish or platter that can gather water, as the jars will likely have some spillover as they ferment.
Place the lids on top, but loosely, without fastening them.
Leave them out on the counter from anywhere to 3 to 14 days. The longer they sit, the more of that sour, fermented taste they will have, so it's your choice.
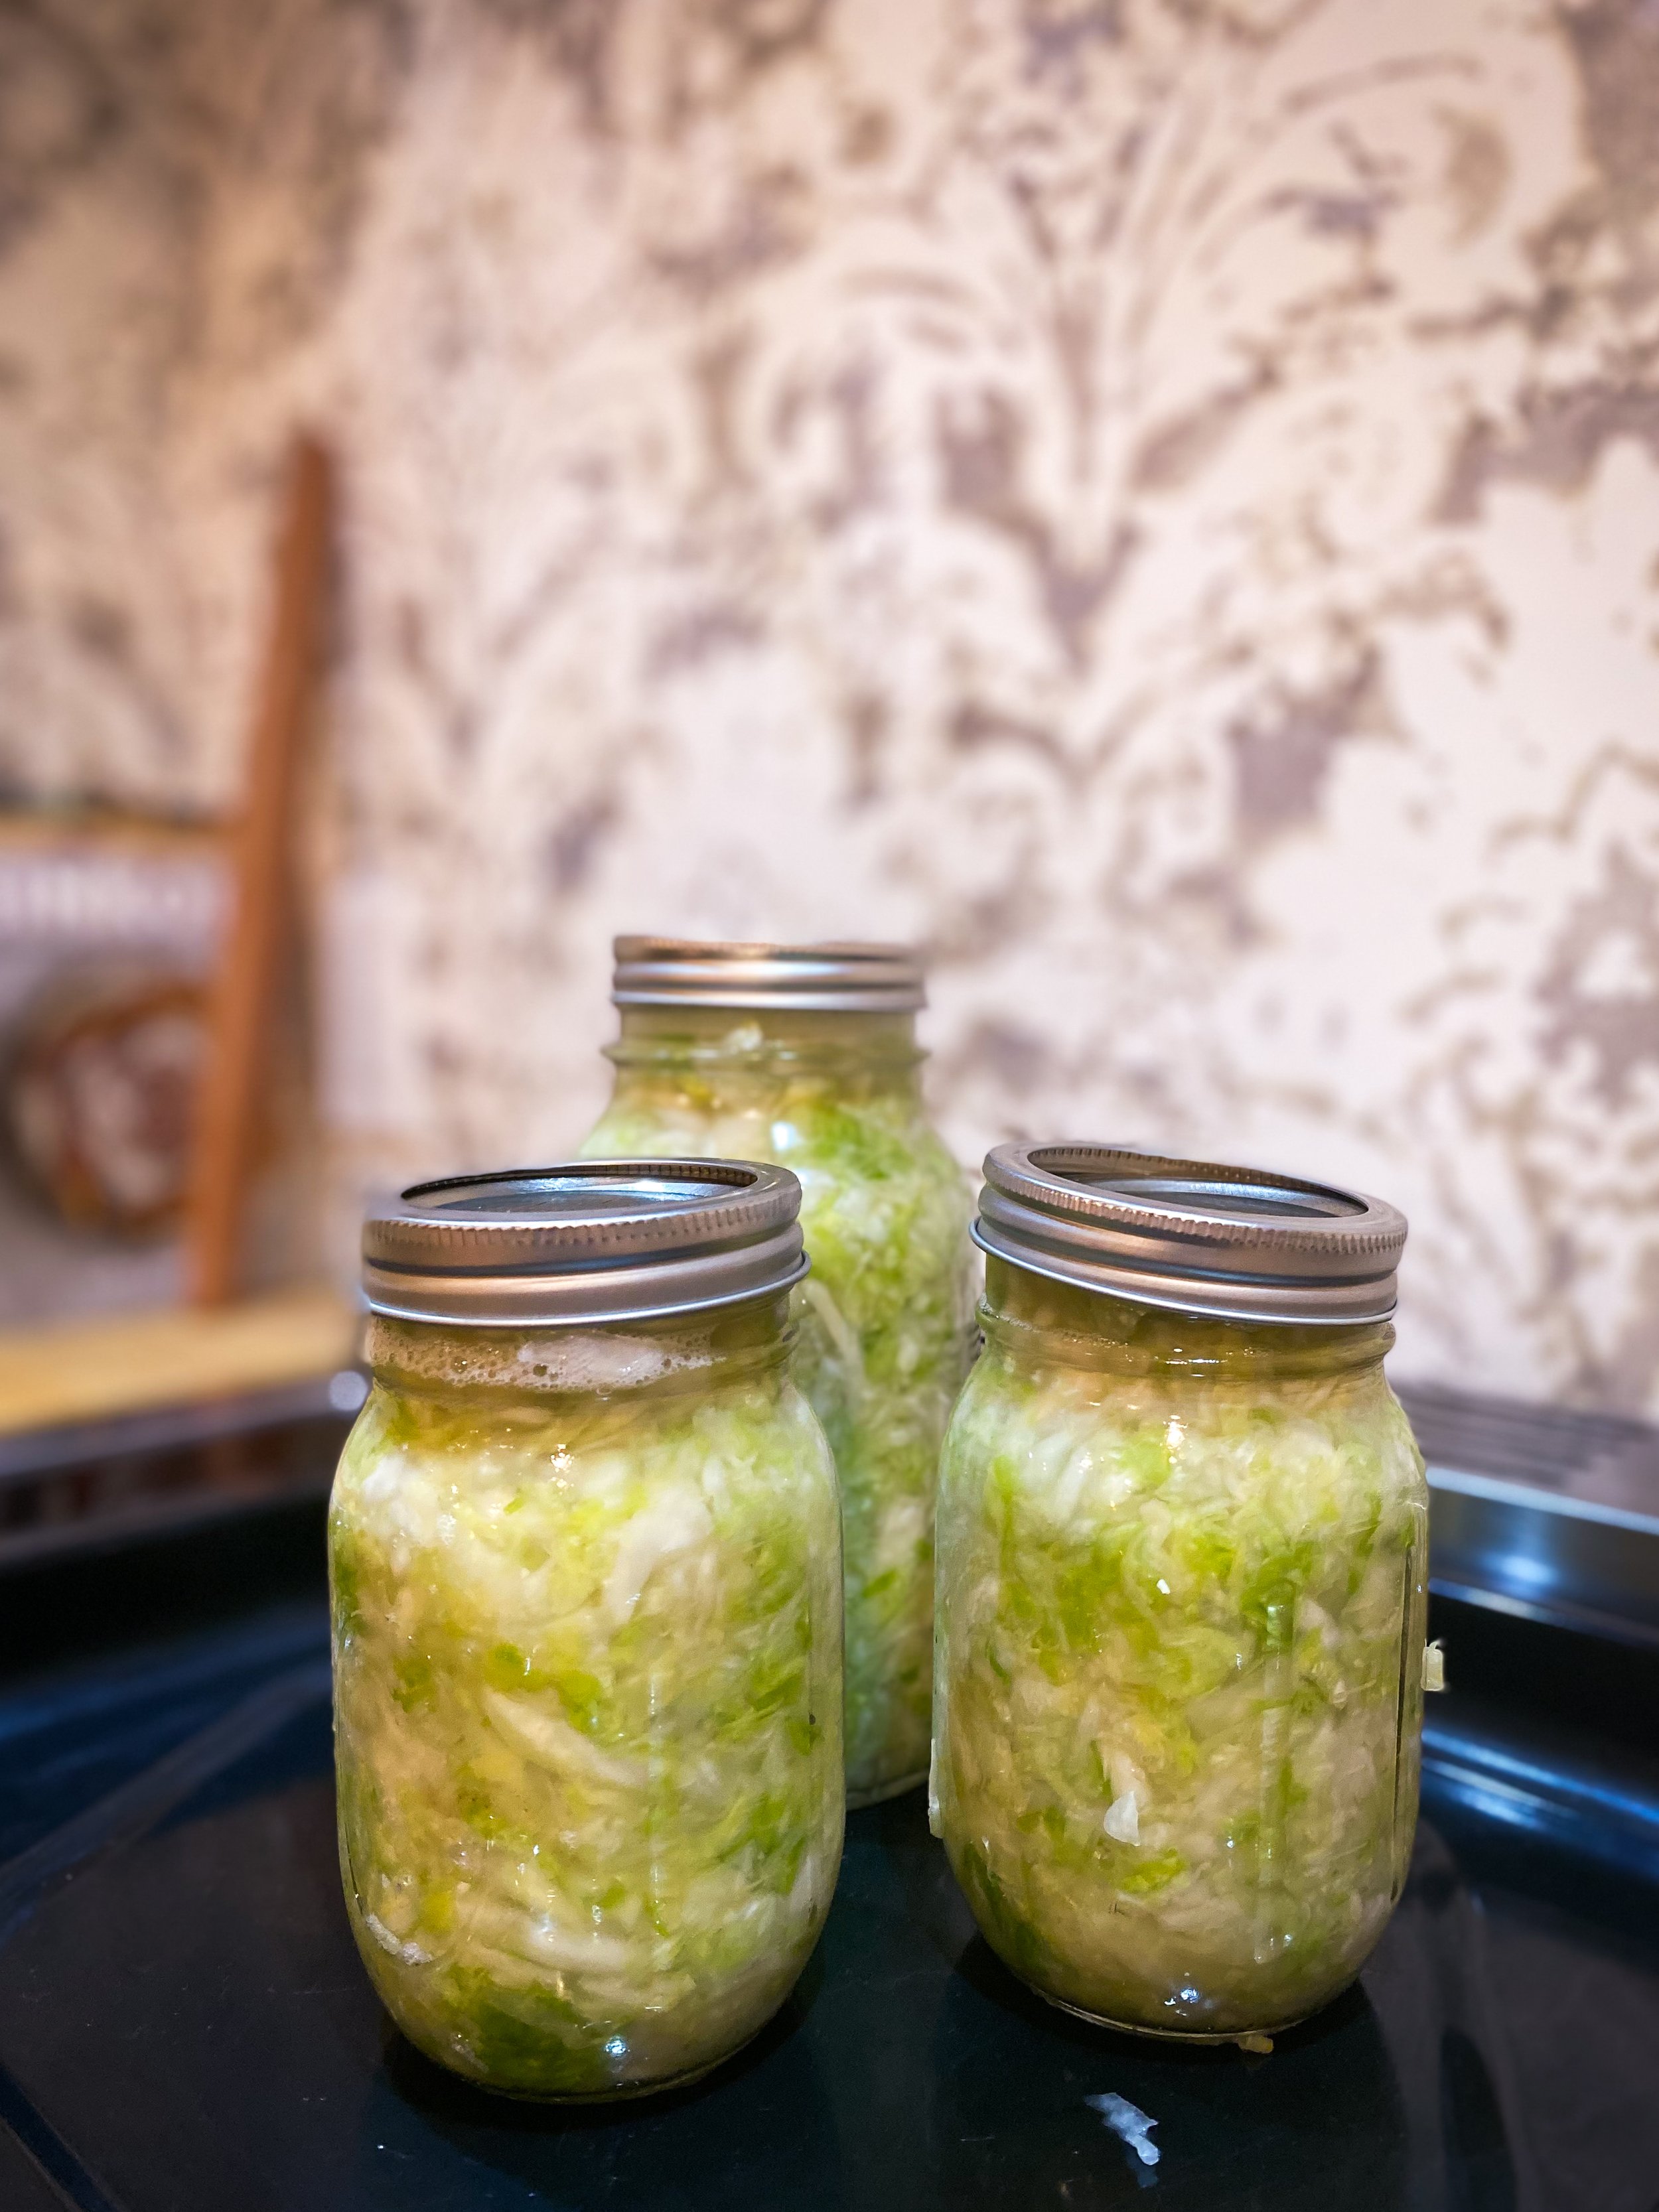
After they've fermented, remove the weights, fasten the lids on and store in a cool, dry place, including the refrigerator if you have the space.
Buon appetito!